Showing posts with label DIY. Show all posts

Wednesday, August 8, 2012

DIY Setting Spray

The lowdown:

I'm a sweat-er. This doesn't always help with the makeup staying in place.

My eyeliner always seems to smudge under my eyes, so I use any help I can get to keep it in place. I tried getting the hubs to give me a warning when I get a bit smeary, but I quickly learned that he doesn't say anything because he still thinks wifey still looks pretty when smudgy.

I'm a huge fan of setting sprays, (Mac's, Makeup Forever's, Urban Decay's) but I'm tired of spending 16-30 something odd dollars for them. They work wonders--making skin glowtastic and healthy.
Since I like my makeup to look as natural as possible (especially when the special occasion calls for fuller coverage), I like to have this spray on had whenever possible. All of this to say, I want my "face" to stay in place without spending an arm and a leg. After perusing a few DIY setting spray recipes, I've come up with this:

Ingredients:
- Purified Water
- Glycerin*
- Rosewater Toner (optional)
(You can also use drops of essential oils; e.g. lavender/tea tree)
- 2 Vitamin E capsules
- Travel Size Spray Bottle
* Glycerin doesn't keep for too long, so you'll want to be sure to replace your batch every 2-2 1/2 weeks.


Using this will help you stay refreshed, dewy and fresh. If you need to touch up your makeup throughout the day, spritz some of this onto your face, so that powder or foundation go on smoothly rather than cake-y and uneven. Try it out, and let me know what you think :).


Thursday, December 8, 2011

Christmas has visited our home: trees, crafts, and an ugly thing.

 
Looking for our REAL tree :)!!

(We found it! It's just the right size for our humble home. This picture
is misleading. The tree is, in fact, taller than me.)

I got so excited that I went to put the ornaments up right as the tree got into its stand,
but then the hubs kindlyreminded me that the lights needed to go on first.
He was a dear and put them up while 
I made us some warm deliciousness.
 I repurposed some decorative wrapping from our wedding, 
and turned it into some DIY ornaments.
 Simple bows made from a lace table cloth that I thrifted (also leftovers from wedding decor)
 little plaid bows and sweet little ornaments we got at Target

 my favorite one :)
 and i love our lights! they're tiny little round ones
Our tree all dressed up!


And for some more cost effective decor...
...the paper garland!


So this picture really has nothing to do with our home,
but it made me want to go to an ugly sweater party...
I keep being reminded of how blessed Dave and I are, and it truly is overwhelming.
I'm beyond excited to spend my first Christmas married to my best friend, to celebrate with
family and friends, bake up a storm, and just enjoy this year as it comes to a close 
(I cannot believehow quickly it zoomed by).


Oh, come let us adore Him!

Tuesday, June 14, 2011

DIY: Simple n' Sweet Favor Tags

Wedding planning is in full swing, and I thought I'd post a DIY as i'm working on some details for our big day. Instead of ordering them, or ordering labels for them, I decided to look around for everyday items with which to make our favor tags. 

#1: Shipping tags w/ a reinforced hole. [You can get these at your local office supply store.]

[The ones I chose to use are 2 3/4" x 1 3/8". There are bigger ones if you prefer to make larger tags.]
 #2: Get a stamp that suits your personal style and gets your point across. I found this adorable little thing for a buck at Michael's. Make sure you have one of the tags with you, so you can make sure that your stamp will fit on the tags. 
#3: Get ink--feel free to use one of your wedding colors or a complementary color of choice.
#4: All you need to do is ink your stamp (make sure to do a test run on a scrap piece of paper), and press down firmly. Voila:

These are so easy and affordable to make! Have fun!

P.s. I stamped mine on both sides, so I wouldn't have to worry about having to twist and turn the tags to get the right side to show on the favors. 

Friday, January 14, 2011

Hodge Podge Friday: Life isn't about compartments.

So what's Hodge Podge Friday's, you ask? Well, let me tell ya. It's going to be a project--a mixed bag of goodies. You'll never know what you're going to get, but I hope that you'll leave with something you can take along for yourself :). You'll get anything from a mix of new recipes, a new DIY project, some random or not-so-random photography, musings on life, musical recommendations, etc... 


Friday posts may have no rhyme or reason to them, but I'm going to embrace that. One of my goals this year is to do what I can to break away from a compartmentalized life. Life isn't about compartments--it's about experiencing it in whole. Who's with me?


Stay for a little while, stay for the whole time, it's your call!
Come along now:  

#1: Roomie Pizza-making Date
I love my roomie, but we hardly get time to hang out. Our schedules are polar opposites of each other's. She gets to see her man during the week, and I get to see mine on weekends, so that adds to our shortage of hang time. We set some time aside to make some delicious pizzas. I was too hungry to take legit pictures. 
It's too bad I can't take pictures of what my taste buds experienced:
Pesto Salad Pizza (If you want this recipe, leave me a comment!]

#2: My Roomie loves Terrariums, and so do I!
She works down the street from the LA flower mart, 
so went nuts with succulents, stones, and our vases.
See?


#3: Don't take for granted a good chocolate chip oat cookie recipe.
Here's why:
It took a lot of willpower not to eat these 
little beauties for breakfast (Ok, I had one). These are best a little warm, so eat them fresh or throw them into the microwave for a few seconds.

What You'll Need:
1 cup all-purpose flour
1/2 tsp baking soda
1/4 tsp baking powder
pinch of salt
1/2 cup butter or margarine (a stick)
1/2 cup granulated sugar (I always use a little less than what the recipe calls for)
1/2 cup firmly packed light brown sugar
1 egg
1/2 tsp vanilla extract
3/4 cup rolled oats
1 cup semisweet chocolate chips

What To Do:
1. Preheat oven to 350. Grease 3-4 baking sheets.
2. Sift flour, baking soda, baking powder and salt into mixing bowl. Set aside
3. With an electric mixer, cream together butter or margarine and the sugars. Add the egg and vanilla and beat until light and fluffy (TIP: If your butter isn't room temp, slice it up into pieces and microwave for 20 seconds)
4. Add flour and beat on low speed until well blended. Stir in rolled oats and choc chips. Drop heaped teaspoonfuls on baking sheets, spacing dough about 1 inch apart. 
5. Bake for about 15 minutes (depends on oven power) until just firm around the gue but still soft to the touch in the center. With a slotted spatula, transfer cookies to wire rack to cool.

Makes 60

Recipe taken from Cookies by Hilaire Walden

#4: On a Mission: Collecting
I love going to thrift stores and finding super deals
on super things. Well, i'm collecting amber or yellow-colored glasses, vases, etc. Why? Well, stay tuned :).
 These two are my newest finds.

#5: The Feed Store, in Long Beach, CA.
 If you live in Long Beach, CA, checkout The Feed Store on Retro Row. It's the newest, vintage-thrift store whose proceeds go to providing food and other necessities to those in need. They have everything from clothes to home goods.
I found some cute doilies to craft with: 


 #5:Know that you're loved and have the capacity to love others.
There's a Love that's beyond words, beyond feelings, and beyond your wildest dreams. It's not fleeting. It's eternal. It's hopeful. In it there is joy and peace.


Thanks for comin' along for my first Hodge Podge Friday. I hope you come back and visit really soon. Have a great day :). 


Friday, January 7, 2011

Magazine Banner: A Repurposing DIY Project

I was in my friend's apartment, and she wanted to add some color to her white walls . She had some Anthropologie magazines lying around, so I figured I'd repurpose them. The first thing that came to mind was to make a banner because I keep seeing them on DIY blogs (This is also great for parties, weddings, baby rooms, etc!). Well folks--here's my first how-to blog.


Step 1: Grab an Anthro magazine (or any other magazine, of course).
Tip: If you want there to be an eclectic sense of cohesion, work with only one magazine
since they usually fall under certain complimentary color themes.

Step 2: Tear the pages of the magazines out. Fold the pages in half (top to bottom)
 and tear them in half once more (In other words, you'll have two flags made for every magazine page).

Step 3: Fold one of your sheets in half (I recommend using the cover of the magazine b/c it's sturdier) 
to find the center point. 

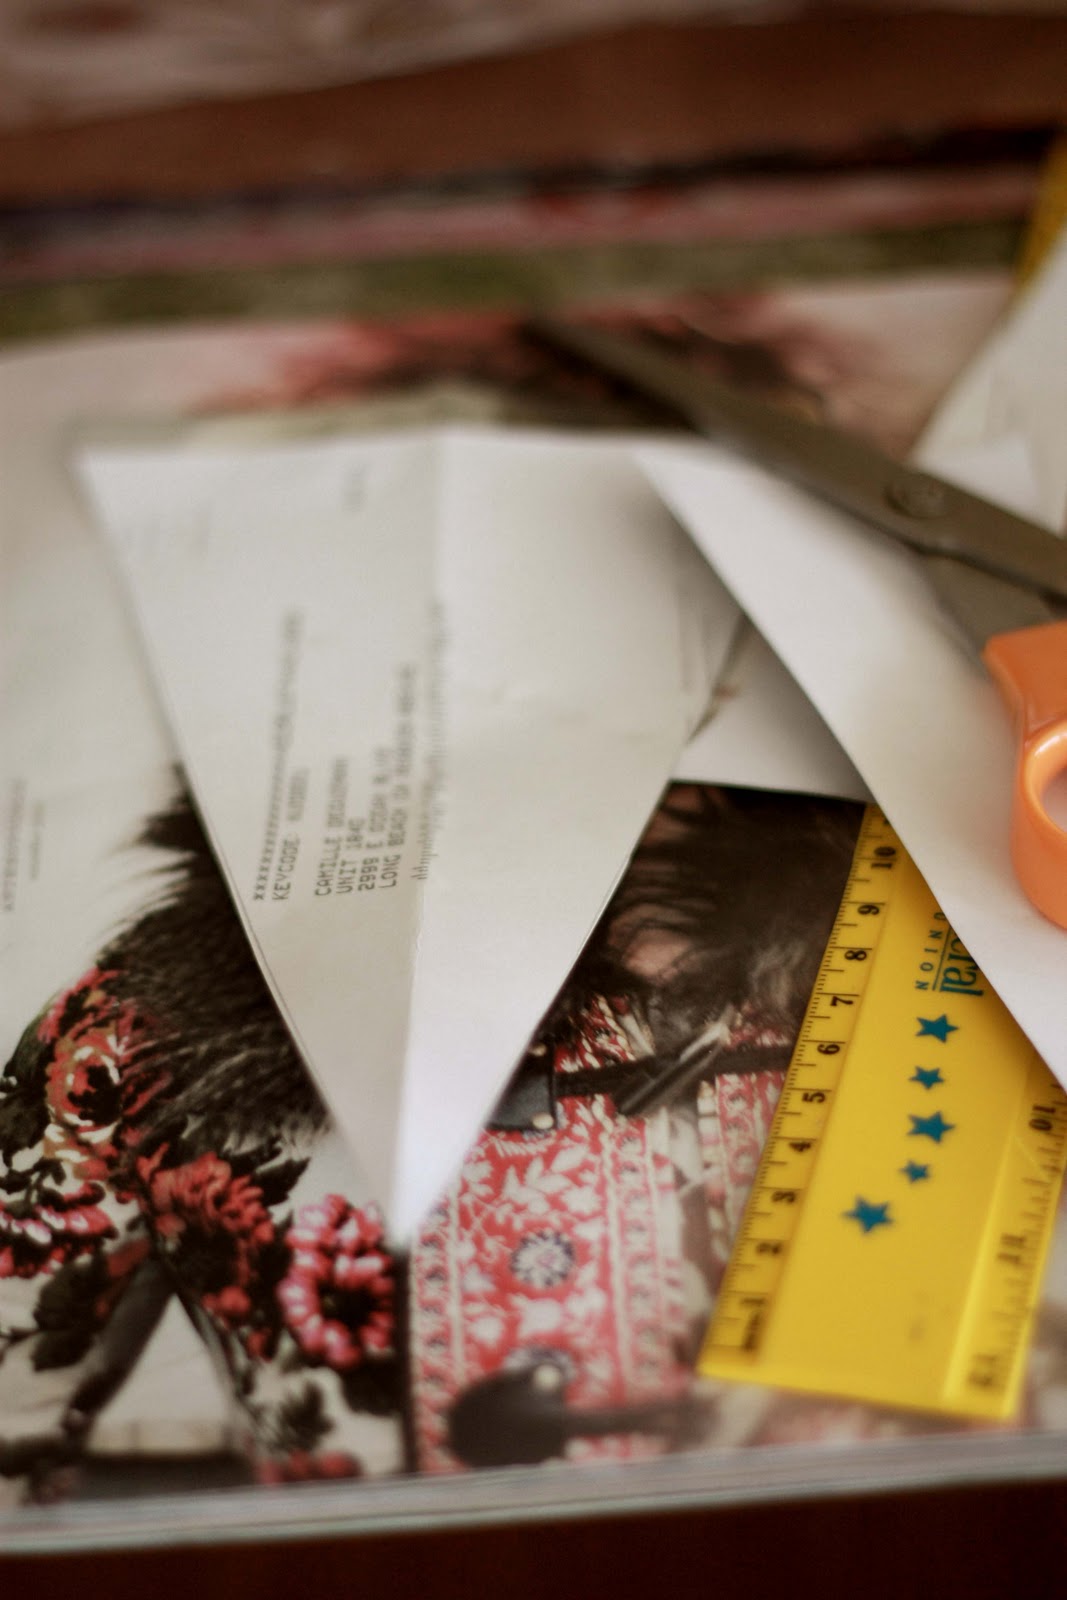
Step 4: Take a ruler and with a pencil, draw two lines to make your flag pattern. Start at 
the center point that you found from Step 3.

Step 5: Cut out your pattern. Place this pattern above a few of your sheets and start cutting!

Step 6: Once you have enough flags cut out, you'll be ready to start putting the banner together.
Get some string, yarn, twine, fishing wire (etc...) ready.

Step 7: Place your flag underneath the string and leave some room at the top so you can fold it over. Make sure the side you want showing is not the side that you can see.

Step 8: Have some tape handy. Fold the top part of the flag over the string, and tape it down. 
Continue this step with the rest of your flags.
(Depending on how sturdy you want it, you'll need to use a varying amount of tape.
For this particular banner, I just put a piece of the place at the center.)
Tip: When taping your first flag onto the string, make sure you secure the flag to the string, so
your flags don't go flying off the end.

Step 9: When you've attached enough flags to achieve your desired banner length, hang
your banner up wherever you needed that splash of color! Be creative; add your own twist to this 
simple DIY project!

Enjoy! Challenge yourself to craft with things you already have!
Give your old things new purpose! Give it a shot. I'd love to 
see all the ideas you come up with :). 


Related Posts Plugin for WordPress, Blogger...