I was in my friend's apartment, and she wanted to add some color to her white walls . She had some Anthropologie magazines lying around, so I figured I'd repurpose them. The first thing that came to mind was to make a banner because I keep seeing them on DIY blogs (This is also great for parties, weddings, baby rooms, etc!). Well folks--here's my first how-to blog.
Step 1: Grab an Anthro magazine (or any other magazine, of course).
Tip: If you want there to be an eclectic sense of cohesion, work with only one magazine
since they usually fall under certain complimentary color themes.
Step 2: Tear the pages of the magazines out. Fold the pages in half (top to bottom)
and tear them in half once more (In other words, you'll have two flags made for every magazine page).
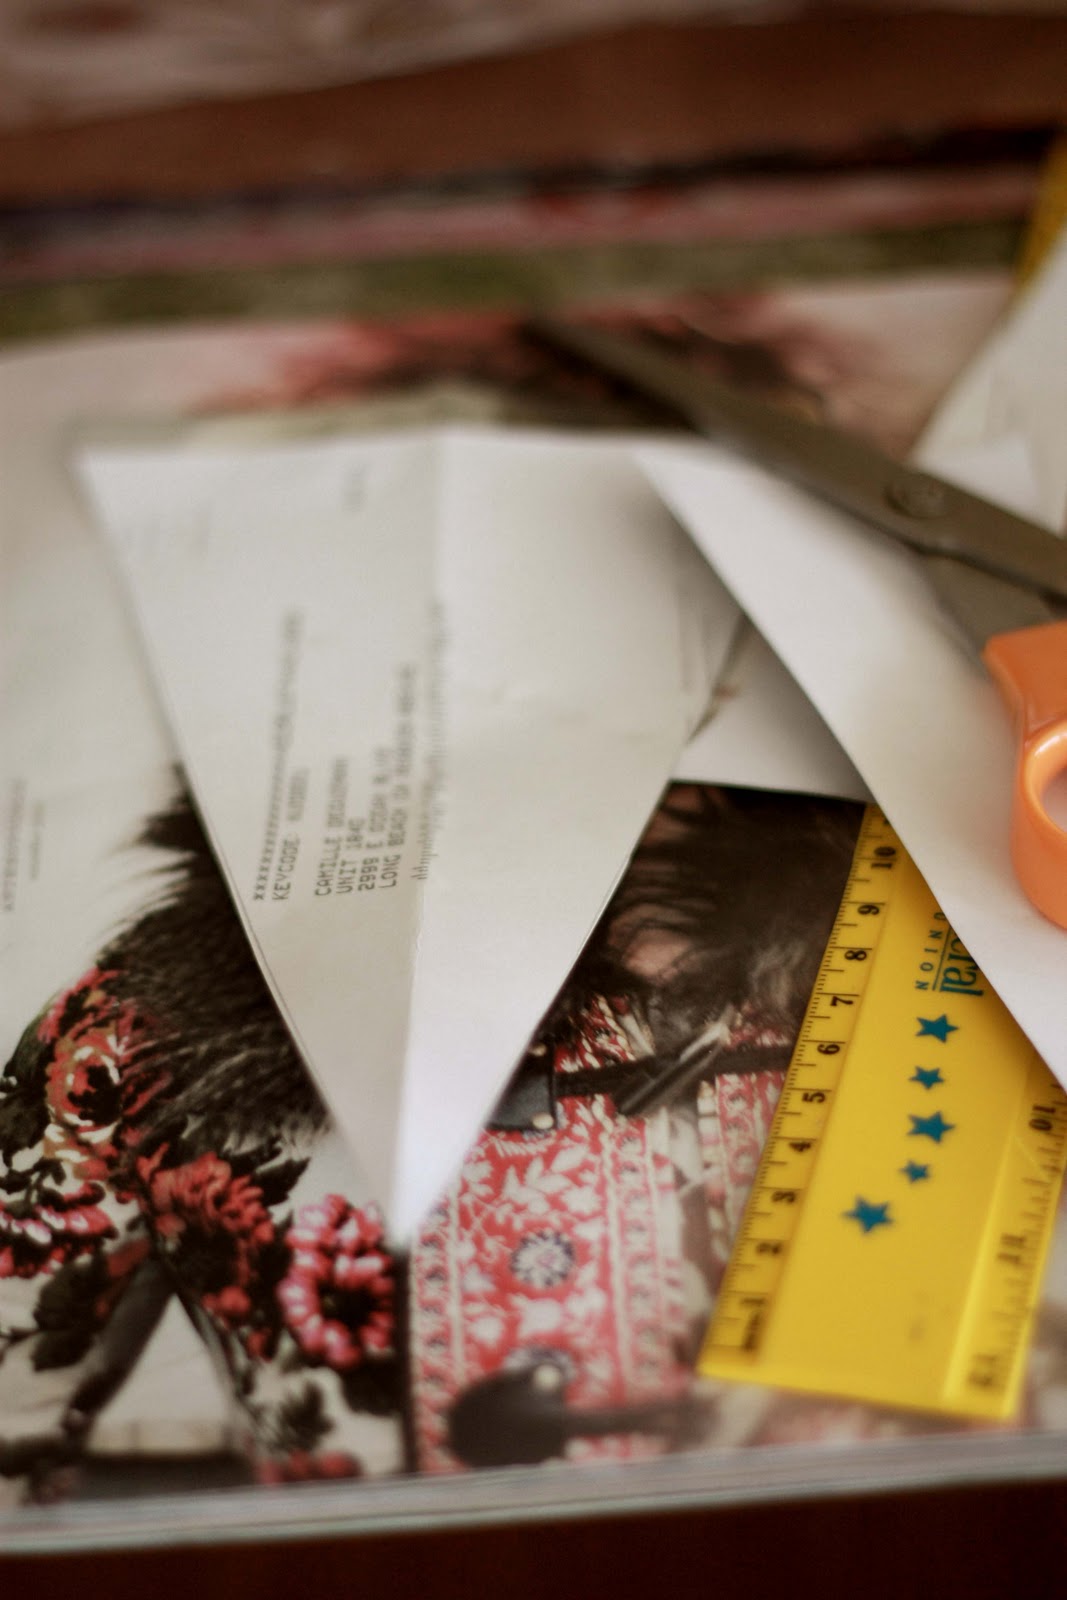
Step 3: Fold one of your sheets in half (I recommend using the cover of the magazine b/c it's sturdier)
to find the center point.
Step 4: Take a ruler and with a pencil, draw two lines to make your flag pattern. Start at
the center point that you found from Step 3.
Step 5: Cut out your pattern. Place this pattern above a few of your sheets and start cutting!
Step 6: Once you have enough flags cut out, you'll be ready to start putting the banner together.
Get some string, yarn, twine, fishing wire (etc...) ready.
Step 7: Place your flag underneath the string and leave some room at the top so you can fold it over. Make sure the side you want showing is not the side that you can see.
Step 8: Have some tape handy. Fold the top part of the flag over the string, and tape it down.
Continue this step with the rest of your flags.
(Depending on how sturdy you want it, you'll need to use a varying amount of tape.
For this particular banner, I just put a piece of the place at the center.)
Tip: When taping your first flag onto the string, make sure you secure the flag to the string, so
your flags don't go flying off the end.
Step 9: When you've attached enough flags to achieve your desired banner length, hang
your banner up wherever you needed that splash of color! Be creative; add your own twist to this
simple DIY project!
Enjoy! Challenge yourself to craft with things you already have!
Give your old things new purpose! Give it a shot. I'd love to
see all the ideas you come up with :).